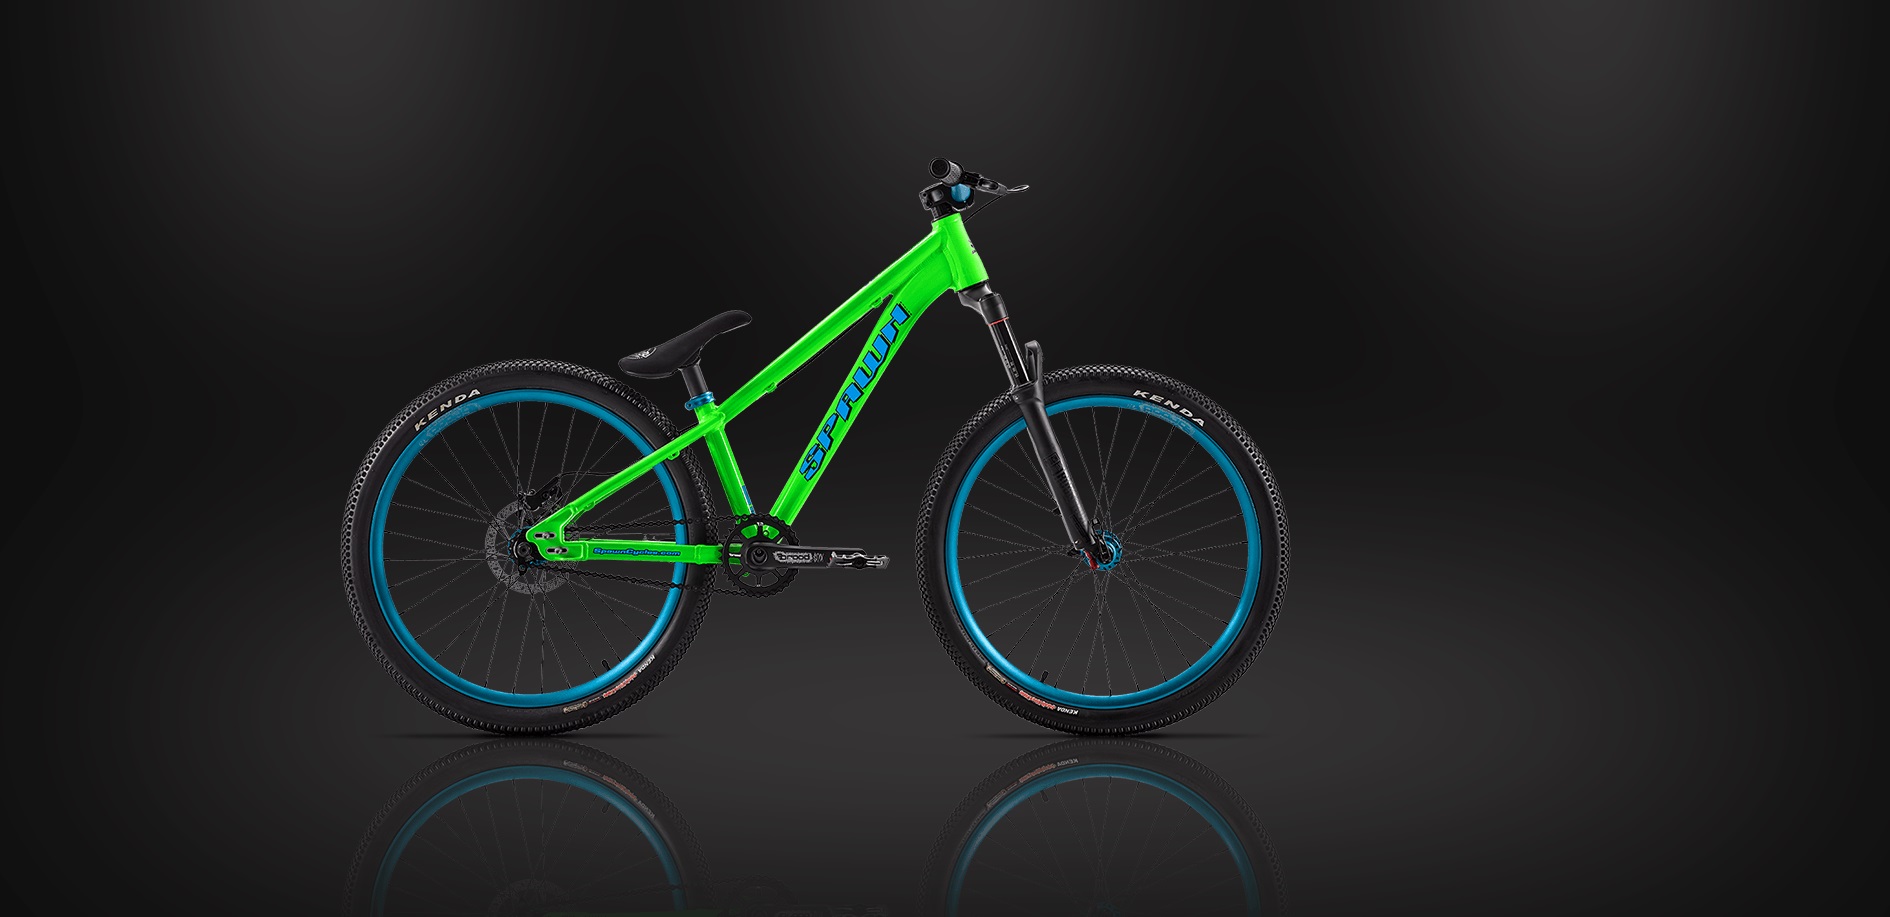
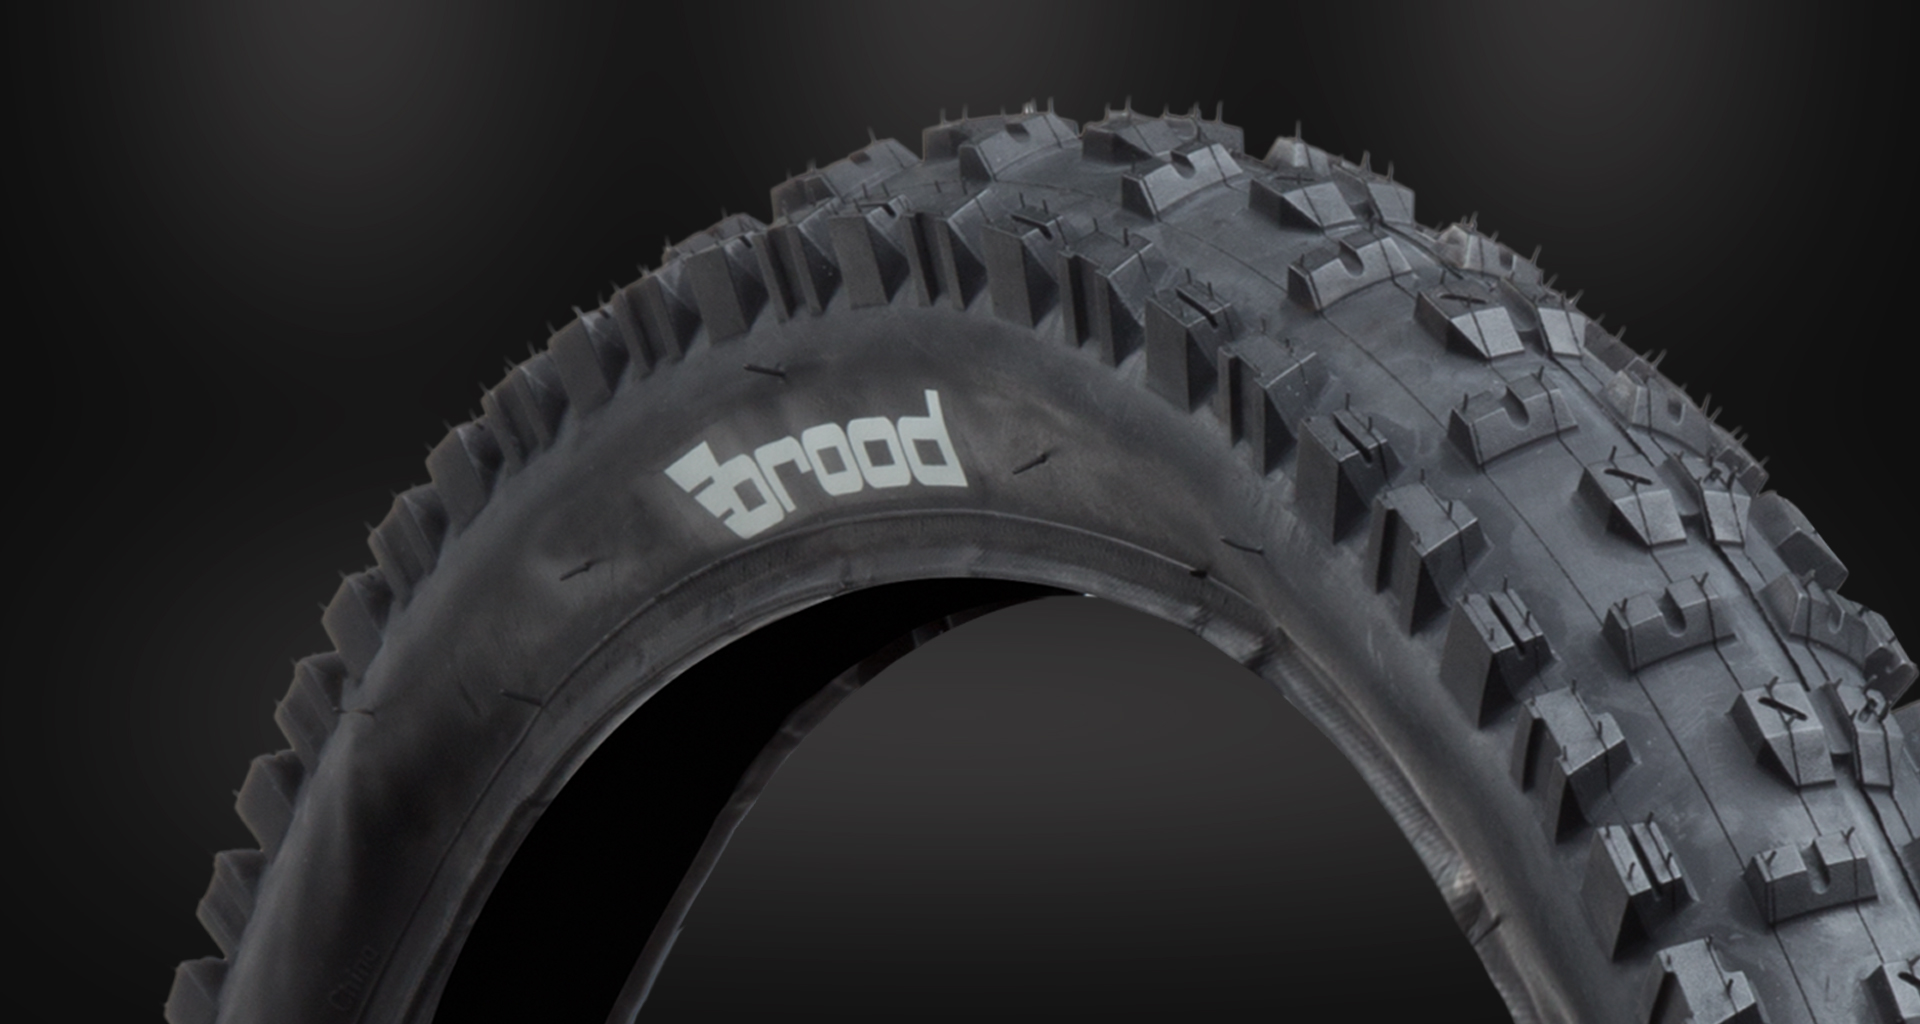
Spawn Cycles makes Downhill/Enduro and Trail bikes with tubeless-ready wheels and tires. Going tubeless is a worthwhile upgrade that can help reduce rotational weight (a huge benefit for little kids), the number of flats, and run lower tire pressure for better traction.
Benefits of Going Tubeless
Fewer Flats
Fewer flats is one of the biggest advantages of going tubeless.
There are a couple of "main" types of flats, both equally frustrating, pinch flats and punctures. Upgrading to tubeless tires can help with both. A pinch flat happens if the tube is pinched into the rim (usually as a result of a crash/impact but can also happen if the tire is not seated properly). Going tubeless will completely eliminate this issue! No tubes = No pinch flats!
Puncture holes caused by sharp objects like thorns (or the universally dreaded by MTB community FOXTAILS), nails, sharp rocks, etc. will be sealed, so you and your little grom can keep going.
Lower Tire Pressures
Being able to run lower tire pressures means better traction on trails (without the risk of pinch flats).
Reduced Rotational Weight

This is a big one! For little riders (specifically, for kids on 20" bikes) shaving off some rotational weight can make a big difference as reduces the weight they have to turn with each pedal stroke. They will notice a difference on climbs and technical sections.
Choosing Wheels and Tires
We recommend investing in lightweight and high-quality tubeless rims and tires.


Tubeless Set-Up Instructions
- Apply the rim strip tape, starting next to the valve, crossing over a couple of spoke holes.
- When you cross back over the spoke hole and valve hole, leave a couple of inches of overlap and cut off the excess.
- Using sharp scissors or a knife, poke a hole for the valve stem.
- Insert the valve stem into the rim through the hole in the tape and install the locking nut. Tighten the lock nut ensuring a tight seal.
- Begin installing the tire onto the rim, starting with only one bead.
- Flip the tire over and start on the second bead, leaving about 1/3 off
- Pour in the sealant (be careful not to over-pour)
- Install the rest of the bead.
- Inflate the tire.
- Inflate to tire to about 60 PSI and spin the tire to make sure sealant coats the entire inside surface of the tire, rim and bead area.
- You may see bubbles and small amounts of sealant seeping from the bead or tires. That's OK, the sealant is doing its job!
- After giving the sealant some time to set (we usually leave it for 5-20 minutes, sometimes overnight), lower the tire pressure to your normal riding pressure and ensure that the seal is holding.
- Before going out for a ride, make sure to check tire pressure, refill if necessary, and your grom is ready to hit the trails!


